📖 Install NEXORA Connect
Per-OS installation steps and frequently asked questions.
🍎 macOS
- 1
Launch — unified login starts
Open NEXORA Connect from Applications. The unified login card appears — pick [Employee] or [Partner / External]. (Download .dmg + drag into Applications is the prerequisite.)
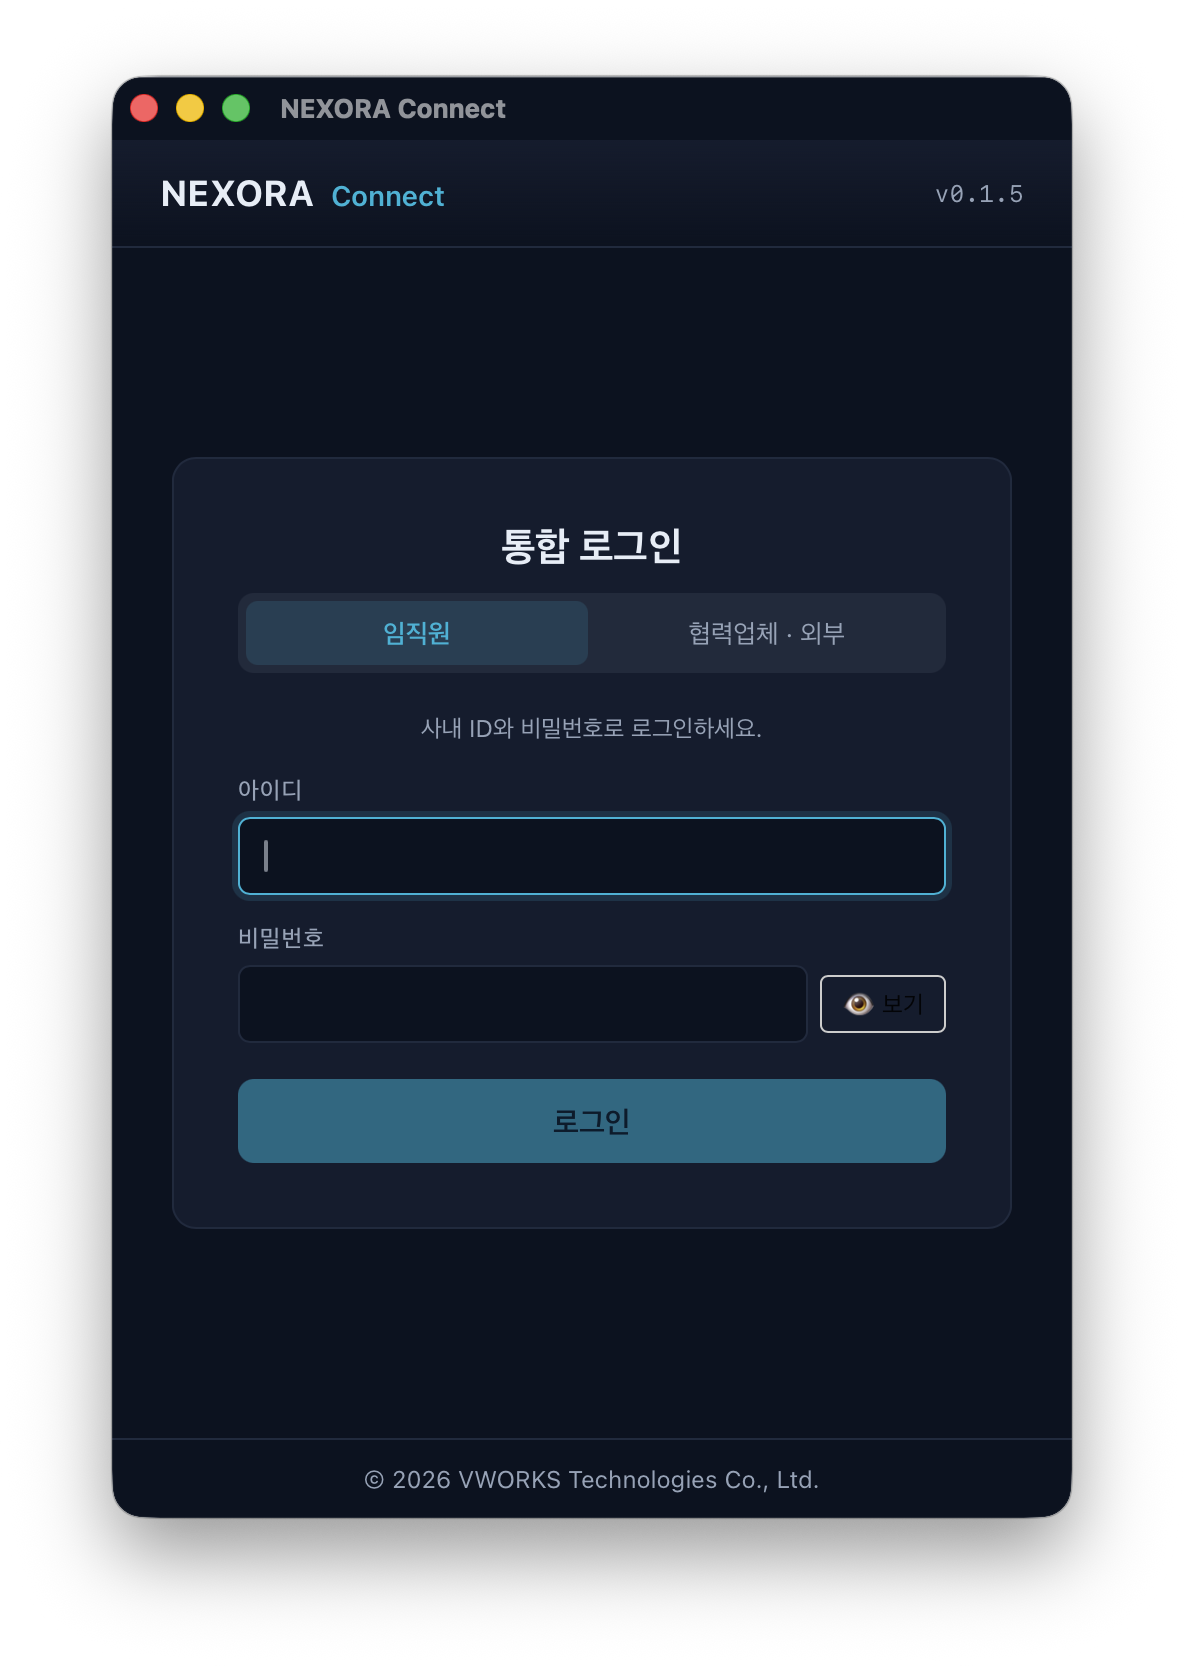
Unified login card + user type toggle - 2
Employee — direct ID/password
Selecting Employee shows only the corporate ID/password form. KC ROPC authenticates inside the app — no external browser. TOTP-enrolled users see a 6-digit code screen.
Employee tab + ID/PW form - 3
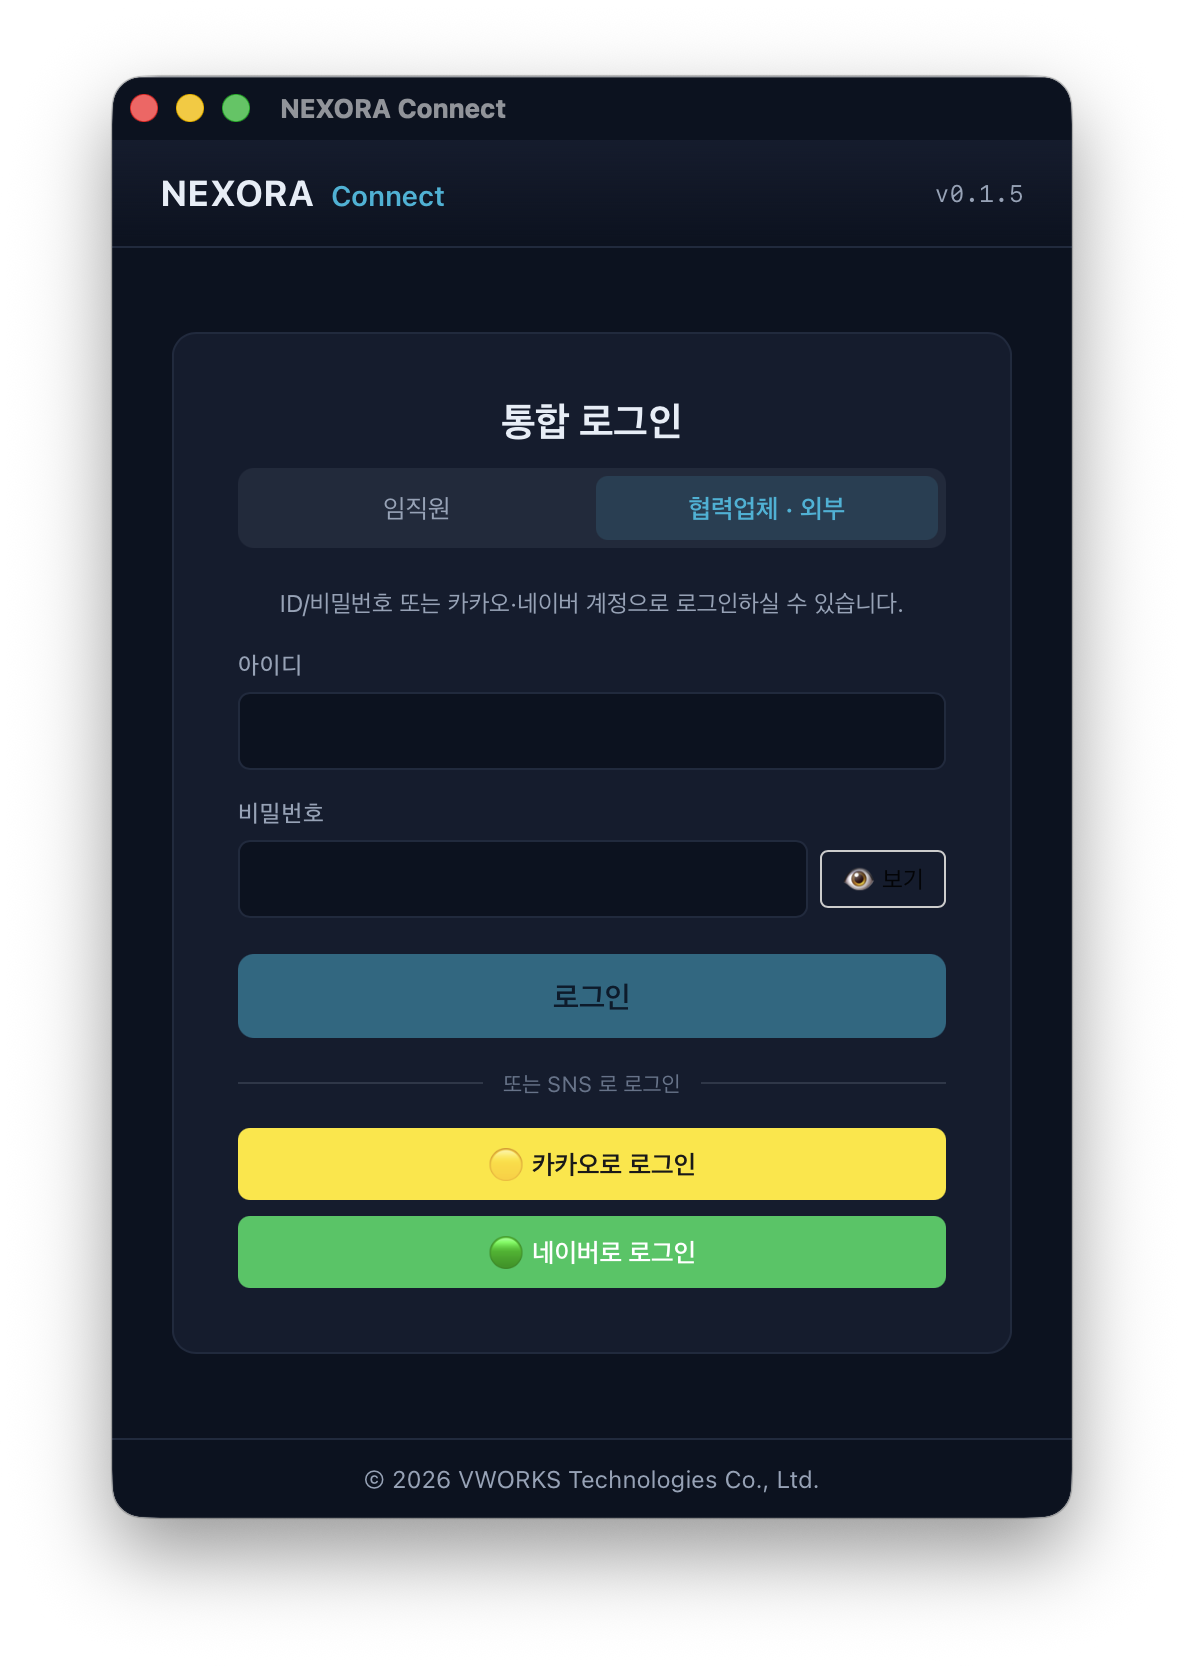
Partner / External — Kakao or Naver SSO
Partner tab adds [🟡 Sign in with Kakao] / [🟢 Sign in with Naver] buttons below the ID/PW form. External staff and customers without a KC account can sign in via social login.
Partner tab + Kakao/Naver buttons - 4
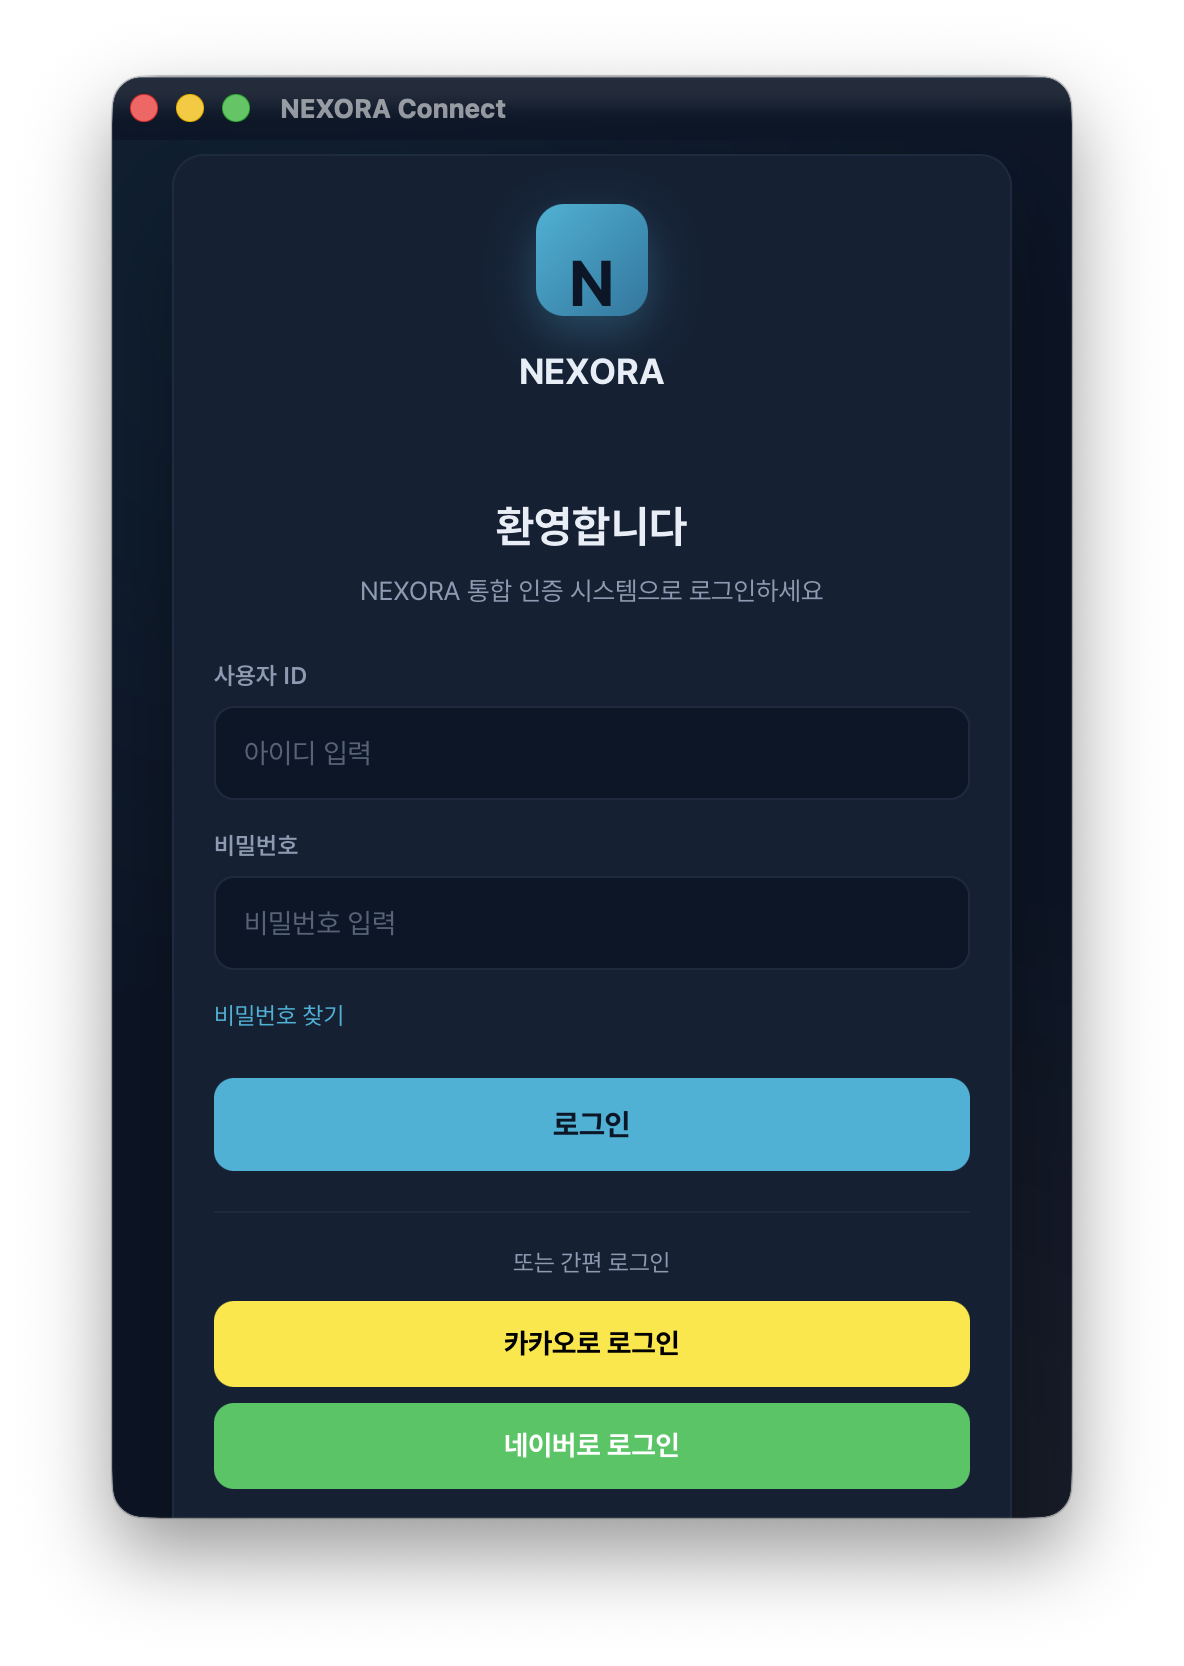
OAuth in-app (no popup window)
Kakao or Naver opens an OAuth page inside the NEXORA Connect main window — no separate browser window. Returns automatically after authentication. If the email matches an existing KC user, auto-link skips re-authentication.
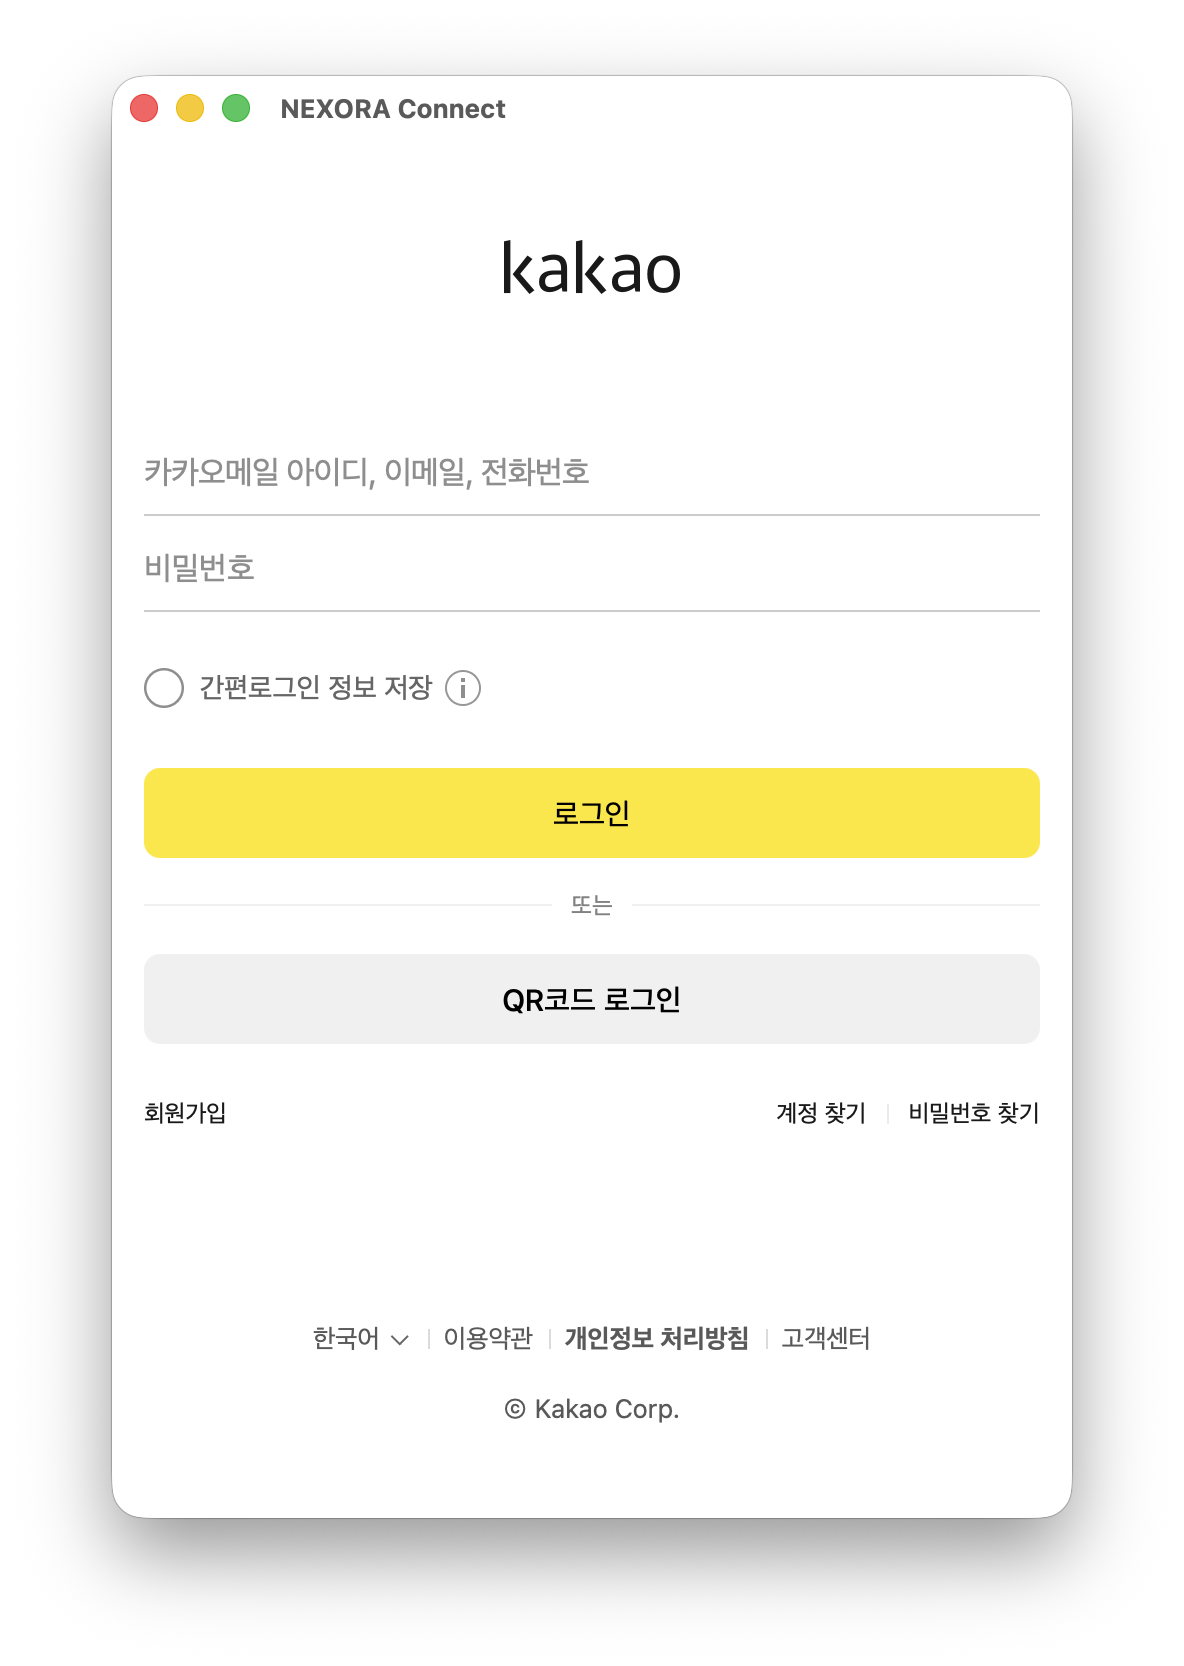
In-window sub-webview OAuth - 5
Dashboard + automatic VPN + open NEXORA Web
Dashboard loads after authentication. From the public internet, Connect's embedded WireGuard tunnel activates automatically and switches to the corporate network. Click [🌐 Open NEXORA Web] to enter CRM/Mail/Messenger without a second login (handoff).
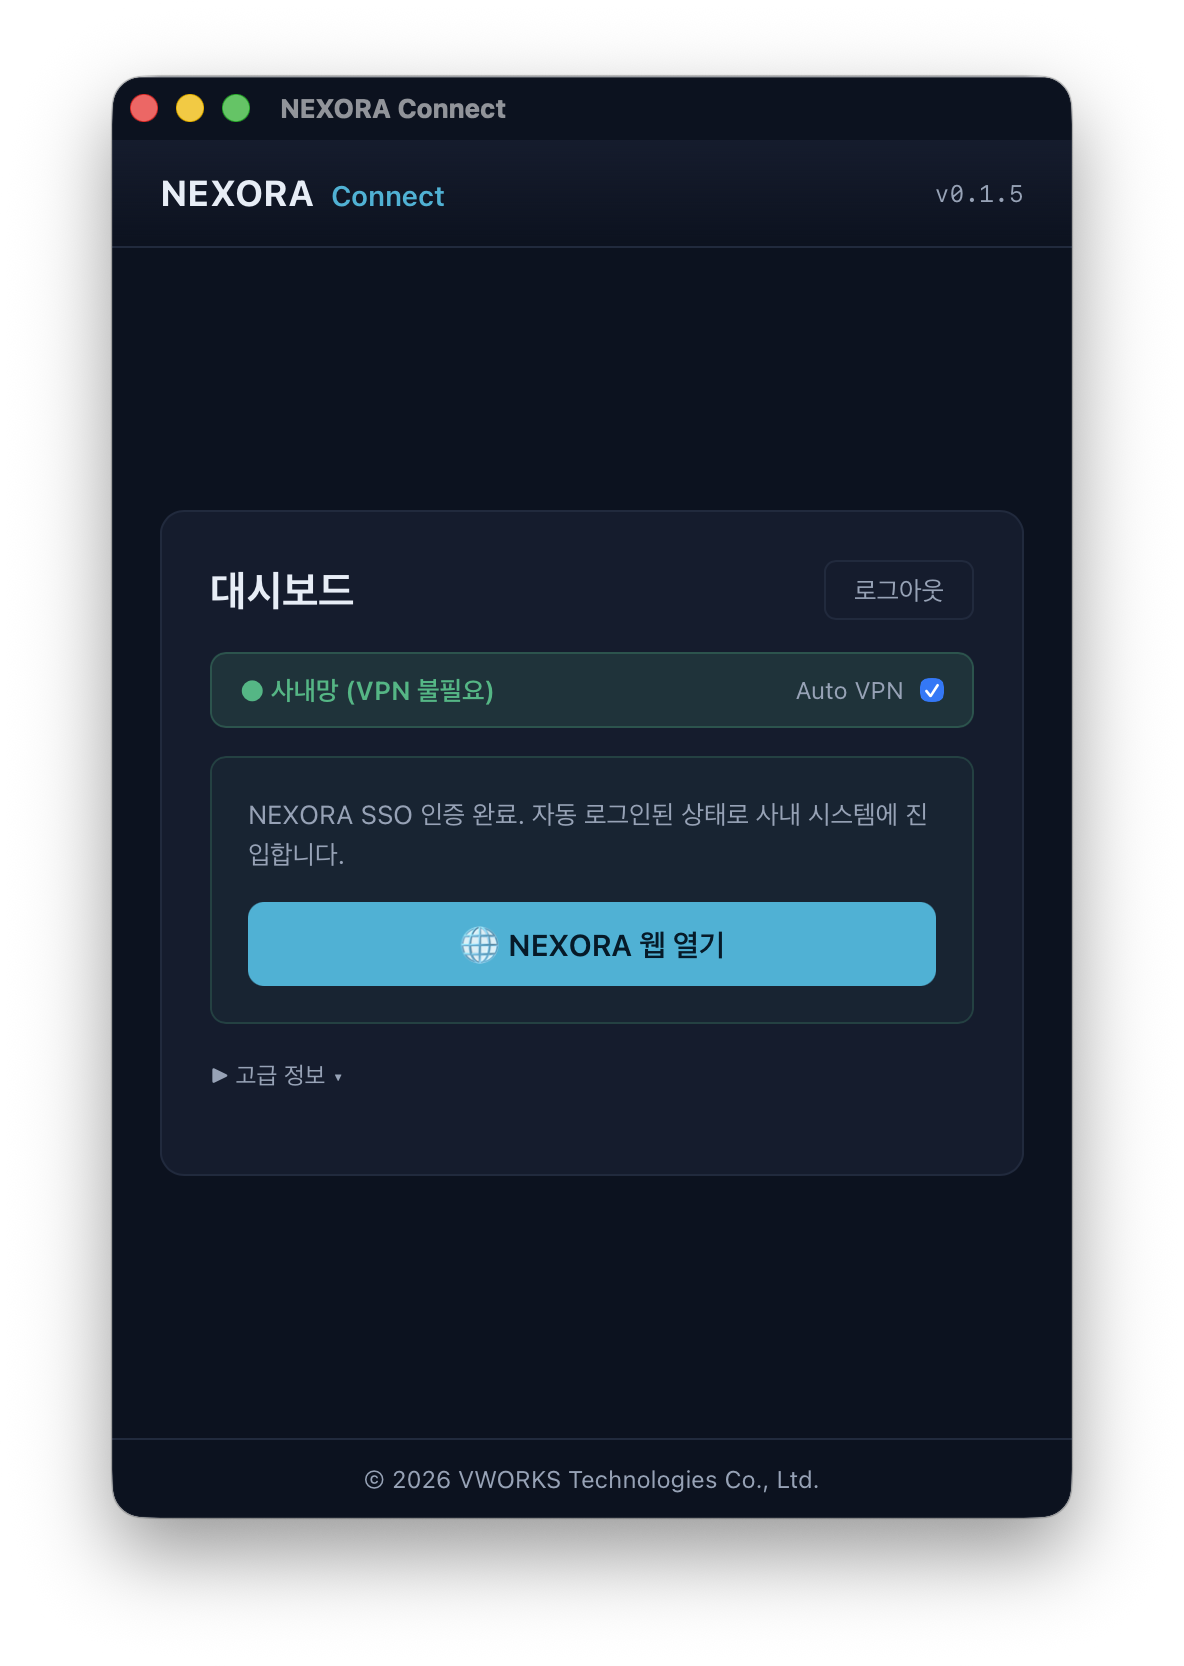
Dashboard + Open NEXORA Web